Turn Arduino into a function generator
In our last post we introduced Project Xenon. In this quick post we will turn Arduino into a function generator. A function generator is a piece of electronic test equipment used to generate different types of electrical waveforms. Some of the most common waveforms produced by the function generator are the sine, square, triangular and sawtooth shapes.
To create a function generator by using project Xenon all you have to do is to create the following diagram:
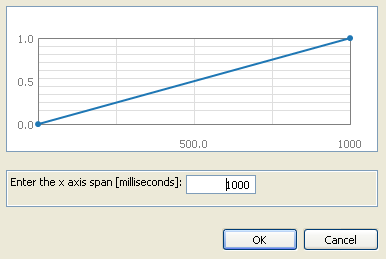
There are four blocks that are used to create waveforms: three ,,Extended Generators" and one ,,Extended Sin Source". Extended Sin Source doesn't need a set up. It just generates sine wave on it's output according data provided at it's inputs. We have to set up the three extended generators. As we want to create a square, triangular and sawtooth shapes we set up the generators as follows:
Now each generator generates on it's output a different shape. We have set the same x axis span on each generator. This way we need to create only one frequency generator that will be used to drive all extended generators. The frequency is "simulated" by the speed we provide data from 0 to "x axis span value" on extended generator's input. We simulate the frequency by a resetable integrator.
The integrator provides on it's output data according the data at it's input. If you provide number 1.0 on integrator's input, the integrator will continously increase the output value by 1.0 within 1 second. If you provide number 5.0 on integrator's input, the integrator will continously increase the output value by 5.0 within 1 second. So to "simulate" a frequency we need to reset the integrator if it reaches the number 1.0.
The output done of extended generator is activated if the input data at pos input reaches the end of the x axis span entered in the configuration dialog. So if we interconnect output done with reset input on resetable integrator we have successfully created our simulated frequency.
The previous sample block is used to discard the loop that was created by interconnecting extended generator with resetable integrator. If you discard the previous sample block from the diagram the compiler wouldn't by able to decide whether it should invoke first extended generator or resetable integrator.
Output of each extended generator is multiplied by digital input's state. So if the digital input is 0 the output of multiply block will be zero. If the digital input is 1 the output of multiply block will represent the value of particular extended generator.
Then we sum the outputs from generators together. This way will be able to mix the signals together. Then we multiply them by the value from analog input 15. So we will be able to set the amplitude of generated signal from 0 to 5.
Then we just convert the signal from 0/5 span to 0/255 span and spread the generated signal among digital outputs.
Then we have connected to the Arduino a DAC R2R network, two potentiometers and four switches.
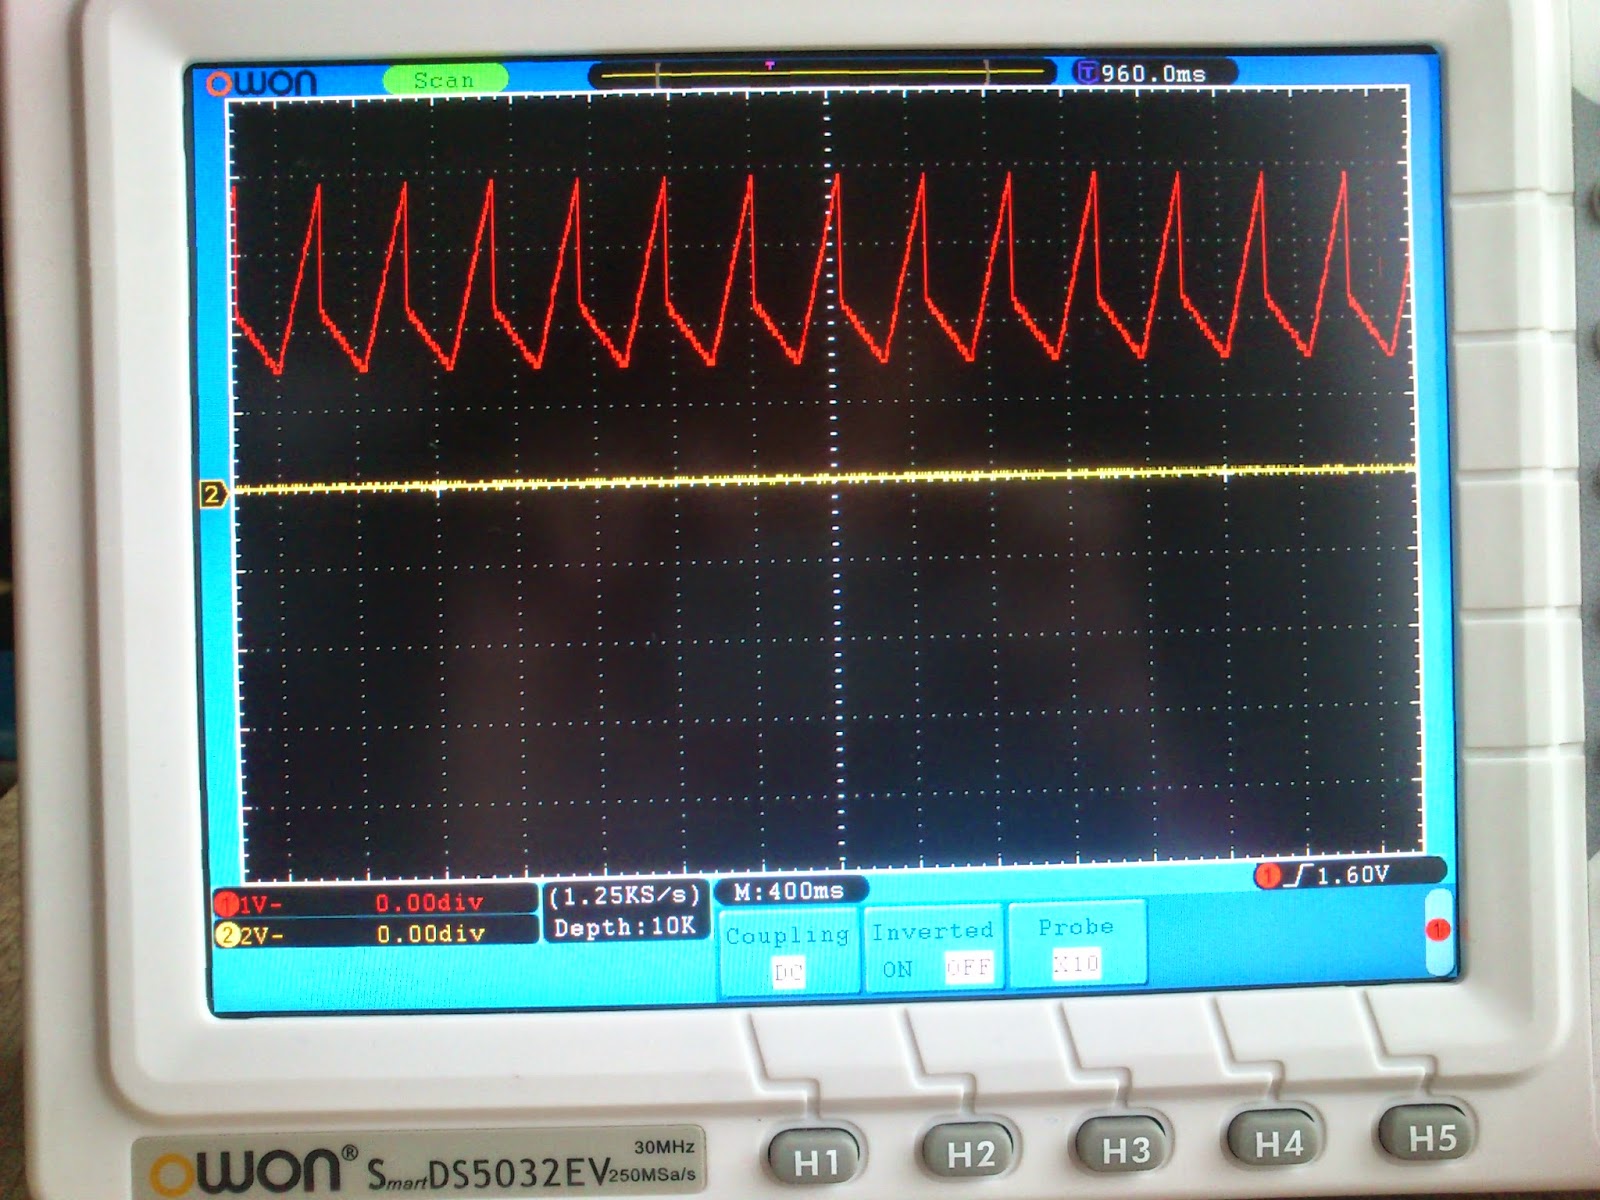
The DAC will be used to convert the digital value generated by generators into the analog value. The output of DAC is then connected to an oscilloscope. The two potentiometers are used to set the frequency and amplitude of generated waveforms. The four switches are used to select a waveform.
And the results are as follows. First the different shapes:
And the results are as follows. First the different shapes:
You can switch between generated waveforms:
You can change the frequency of generated waveforms:
And you are able to change the amplitude of generated waveforms:
And if you look at the diagram, you will notice that we are summing the outputs of the generators. So you are able to mix different shapes together:
 |
| Square, triangle and sawtooth waveform summed together |
Conclusion
We created this function generator under two hours (including soldering of the hardware). As you can see, by using project Xenon, you are able to create powerful applications quickly without a need to type a single line of code. This way you are able to spend more time by playing with your application and enjoying more the creation process.
We created this function generator under two hours (including soldering of the hardware). As you can see, by using project Xenon, you are able to create powerful applications quickly without a need to type a single line of code. This way you are able to spend more time by playing with your application and enjoying more the creation process.


No comments:
Post a Comment